[ad_1]
In an era dominated by digital media, the value of a high-quality printed piece remains undeniable. Whether you are printing professional photographs, business documents, marketing materials, or decorative art, achieving professional-quality prints at home can elevate your work, save time and money, and offer a satisfying hands-on experience. While it may seem challenging to replicate the results of a commercial print shop, with the right equipment, materials, and techniques, you can produce stunning prints from your own home.
This comprehensive guide will explore everything you need to know to make your home printing look professional—from selecting printers and paper to mastering color management and finishing touches. Let’s dive into the top tips to help you print perfect every time.
1. Choose the Right Printer for Your Needs
The foundation of professional-quality prints lies in your printer selection. Not all printers are created equal, and understanding the types and capabilities will help you pick the right one.
Types of Printers
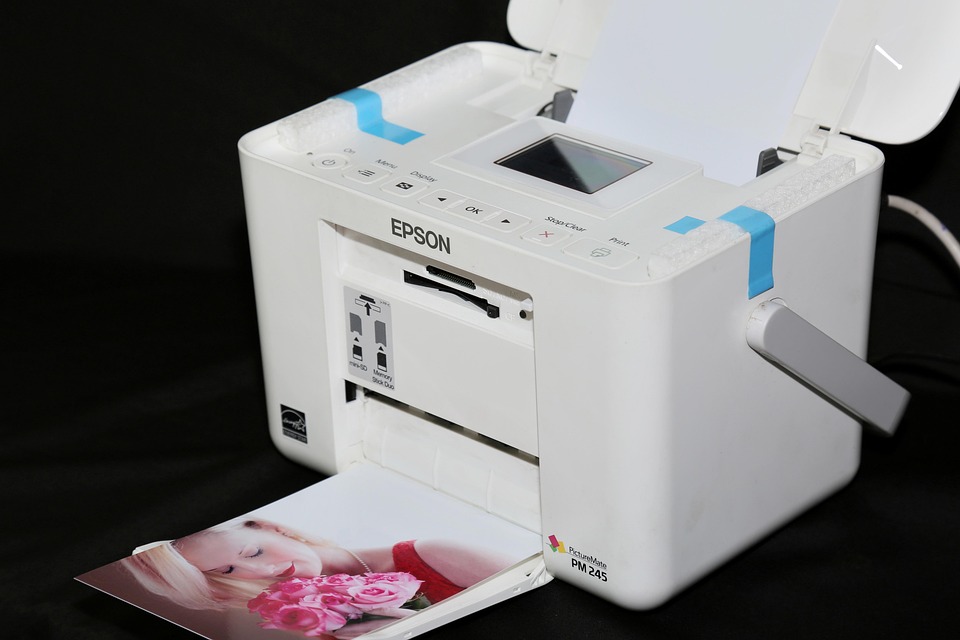
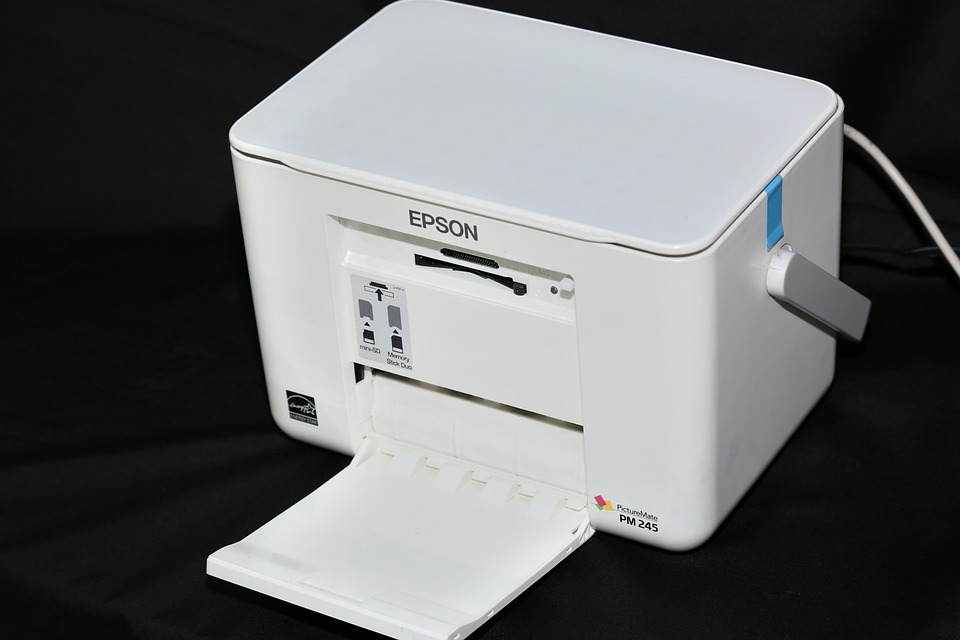
- Inkjet Printers: Ideal for high-quality photo prints and artwork due to their ability to produce smooth gradients and vibrant colors. Professional photo inkjet printers often use more ink cartridges for better color fidelity.
- Laser Printers: Best suited for office documents and sharp text printing. Color laser printers can print photos, but generally lack the color nuances of inkjet models.
- Dye Sublimation Printers: These offer excellent color accuracy and smooth gradations, making them popular for professional photo prints and ID cards, but they are pricier.
Resolution and Color
- Opt for printers with higher dpi (dots per inch) for finer image detail. For photos, look for 1200 dpi or above.
- Consider printers that support wide color gamuts (e.g., Adobe RGB) if you want more vivid prints.
Ink Cartridges
- Printers with multiple ink cartridges (6+ for photo printers) produce better tonal range and smooth color transitions.
- Use genuine or high-quality compatible inks to avoid color discrepancies and clogging.
Tip: Research printer reviews focused on print quality rather than just speed or cost.
2. Invest in Quality Paper and Media
Your choice of paper dramatically impacts the overall look and feel of your prints. Paper type, weight, and finish all play roles in your final result.
Paper Types
- Glossy: Enhances color vibrancy and contrast, great for photographs.
- Matte: Provides a non-reflective, subtle finish ideal for fine art prints and professional documents.
- Luster/Satin: Middle ground between glossy and matte, offering a soft sheen with good color.
- Fine Art Paper: Made from cotton or alpha-cellulose, this provides archival quality and texture for art prints and photography.
Paper Weight
- Heavier paper (measured in gsm – grams per square meter) feels more substantial and professional. 200 gsm and above is often preferred for photographic and art prints.
Specialty Papers
- Consider canvas, textured, or metallic papers for unique effects.
Tip: Always confirm that the paper is compatible with your printer type and ink chemistry (dye vs pigment).
3. Calibrate Your Monitor and Printer
Color accuracy starts on your screen. If your monitor’s colors are off, the prints will not match what you see, resulting in disappointing outcomes.
Monitor Calibration
- Use a hardware colorimeter device to calibrate your monitor regularly.
- Adjust brightness, contrast, and color temperature to industry standards.
Printer Calibration
- Use printer profiling tools or calibration sheets from paper manufacturers to create custom color profiles.
- Ensure you update drivers and firmware to access the latest color profiles.
Tip: Use ICC color profiles tailored for your printer, ink, and paper to ensure predictable color output.
4. Understand Color Management
Color management is the process that ensures colors look consistent across devices—in your case, between your monitor and printer.
RGB vs CMYK
- Monitors use RGB (Red, Green, Blue) color space, which is additive.
- Printers use CMYK (Cyan, Magenta, Yellow, Black), a subtractive color model.
- Some colors you see on screen may be out of the printable range (out of gamut).
Soft Proofing
- Use software like Adobe Photoshop or Lightroom to soft proof your print by simulating on-screen how colors will appear on the chosen paper and printer profile.
- Adjust your image accordingly to compensate for color shifts.
Print Settings
- Choose correct color management settings in your print driver—let either the software or printer manage CMYK conversion, but never both simultaneously.
Tip: Use professional photo software with built-in color management capabilities for best results.
5. Prepare Files Correctly
Your print’s quality depends heavily on the quality of the source file.
Resolution
- Use images with a resolution of at least 300 dpi at the final print size.
- Avoid enlarging low-resolution images which leads to pixelation.
File Format
- Save files in lossless formats (TIFF, PNG) or high-quality JPEGs.
- Avoid using compressed formats that degrade image data.
Color Space
- Work in Adobe RGB or ProPhoto RGB for wider gamut editing, then convert to the printer profile before printing.
Image Editing
- Sharpen images appropriately for print; screen sharpening settings usually need adjustment.
- Check and fix exposure, contrast, and color balance during editing.
Tip: Always print a smaller test print to verify colors and details before committing to a larger print.
6. Optimize Printer Settings
Getting the best print involves careful attention to your printer’s settings.
Paper Type Selection
- Choose the paper type setting in the printer driver that matches your paper.
- Incorrect settings can cause poor ink absorption and image quality.
Print Quality
- Select the highest quality or photo mode for detailed prints.
- Be aware that this uses more ink and takes longer but results in professional prints.
Borderless Prints
- Borderless printing avoids white edges but may crop the print slightly.
- Use borderless mode carefully, especially for framed artwork.
Ink Saving Modes
- Avoid draft or economy modes for final prints.
Tip: Check for firmware updates for your printer to access improved print management options.
7. Maintain Your Printer
Keeping your printer in top condition prevents print defects such as streaks, banding, and color fading.
Regular Cleaning
- Use the printer’s internal cleaning function to prevent clogged nozzles.
- Perform manual nozzle checks periodically.
Use Consistent Inks and Paper
- Mixing ink brands or using low-quality paper can produce inconsistent results.
Store Ink Properly
- Replace cartridges before they run dry to avoid air bubbles.
- Store spares in cool, dry places.
Tip: Run test prints regularly to catch issues early on.
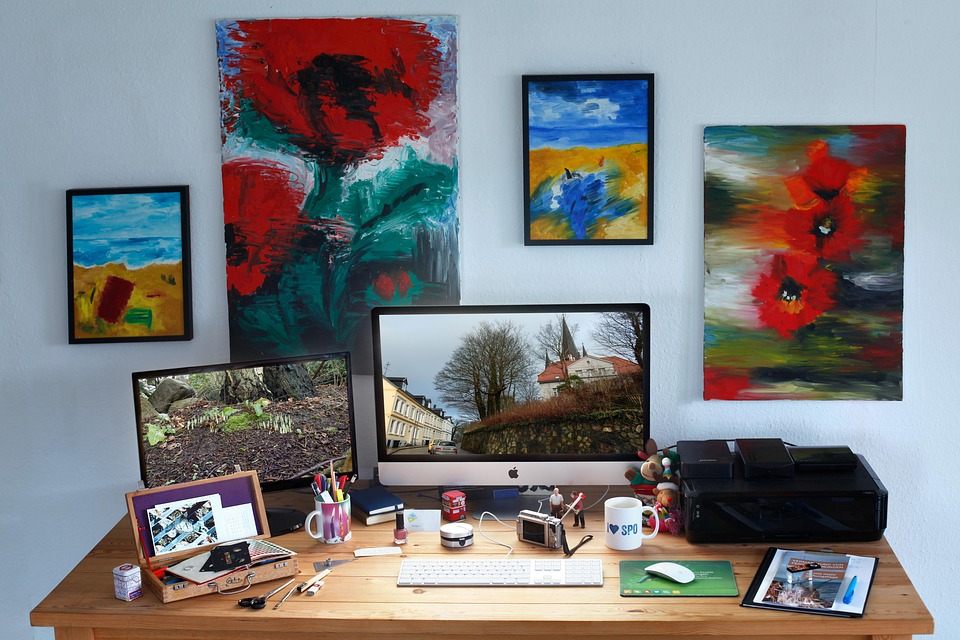
8. Finishing Touches: Mounting and Laminating
Professional prints often include mounting or protective finishes to preserve and enhance appearance.
Mounting
- Use acid-free foam boards or mats for mounting prints to avoid yellowing.
- Consider framing under UV-protective glass for photographs.
Laminating
- Laminating adds a protective coating to resist fingerprints, dust, and moisture.
- Use cold lamination if possible to avoid heat damage on photo papers.
Cutting
- Use a sharp rotary cutter or guillotine cutter for clean edges.
- Avoid tearing or folding, which detracts from professionalism.
Tip: Present your prints in portfolios or sleeves for client presentations.
9. Print in Controlled Conditions
Environmental factors influence print drying and appearance.
- Print in a dust-free, stable-temperature environment.
- Allow sufficient drying time before handling, especially for glossy papers.
- Avoid exposing freshly printed materials to direct sunlight to prevent fading.
10. Practice Patience and Experimentation
Finally, professional printing skills develop over time through practice and experimentation.
- Keep notes on your settings and prints and adjust based on results.
- Test different papers and inks to find combinations that suit your style.
- Be patient with adjustments—one print may take several trial runs.
Conclusion
Printing professional-quality work at home is entirely achievable with the right tools, materials, and knowledge. By selecting a capable printer, using high-quality paper and inks, calibrating devices, managing color effectively, and maintaining your equipment, you can produce prints that rival those from commercial labs.
Remember to prepare your files correctly, fine-tune printer settings, and apply finishing touches to truly showcase your work. With consistent effort, you will gain confidence and create print pieces that impress clients, colleagues, or family members with their clarity, color, and presentation.
Happy printing!
If you want, I can also provide a shorter summary or specific recommendations for printers, ink, and paper. Just let me know!
[ad_2]